How to Create a Local Copy of a Live WordPress Site
How to Create a Local Copy of a Live WordPress Site
on creating a local WordPress site, I said that all WordPress users should have a local installation of WordPress on their PC. One of the key reasons for doing so would be the ability to test design changes without disrupting the live site. I’ve certainly been guilty of fiddling with my live blog and regretting the outcome. If you have also been guilty of carrying out design tweaks on the fly, now is your opportunity to take your experiments offline.
As you now know, creating a local WordPress site isn’t difficult at all – in fact, it only takes a few minutes. But on the face of it, copying an actual live site and moving it offline seems like a far more daunting task. Fortunately, it isn’t. Just follow the simple steps below and you will have an offline version of your WordPress site up and running in no time at all.
1. Activate Apache and MySQL
This first step assumes that you have gone through the process of creating a local WordPress site. If you haven’t, just head over to that tutorial and complete steps one and two. You will be installing Xampp for Windows, and activating Apache and MySQL on your PC. In layman’s terms, you will be setting up a local server that your WordPress installation can sit on.
If you are a Mac user, don’t fear – just complete steps one and two in this tutorialinstead.
2. Copy Your Site’s WordPress Files
Now you need to grab your live site’s WordPress files and copy them over to your local server.
Access your live site via FTP. Once there, you want to download all files relating to your site. They will be contained in a root directory such as “yoursitename”.
If you are in any doubt as to what you are doing, look out for a directory containing folders such as “wp-admin” and “wp-content”. There will also be a bunch of files in that directory, such as “index.php” and “wp-config.php”.
Once downloaded, place that root directory into the “htdocs” folder, which can be found in the location where you installed Xampp (by default, you can find it at “C:/xampp/”). If you’re using a Mac and MAMP, follow the same instructions but adjust the local directory to suit.
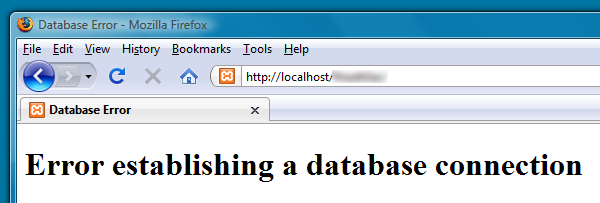
To check that the files have been successfully transferred, open a browser tab and navigate to “http://localhost/yourfoldername/”. You should see a database error similar to this:
3. Export Your Site’s Database
At the heart of every WordPress installation is its database, and it is not contained within the files you downloaded. So now we need to grab it and install it locally. But before we do so, we need to know which database we are actually looking for. Fortunately, that information is contained within the files you downloaded.
Just navigate to the root directory of the fresh copy of your site located on your PC, and open up “wp-config.php” in a plain text editor. You’re looking for this line:
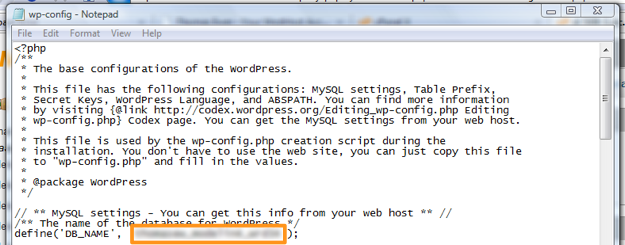
That is the name of your database – make a note of it.
Now you need to login to phpMyAdmin, which every good hosting provider offers. Here’s where you will find it on cPanel (which the biggest hosting providers all use):
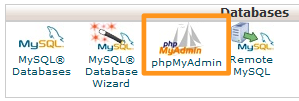
If you’re struggling to find it, contact your hosting provider – they should be able to help.
Once logged into phpMyAdmin, click on the “Export” tab. On the following screen, select the “Custom” export method. You will then be presented with a selection of databases to export:
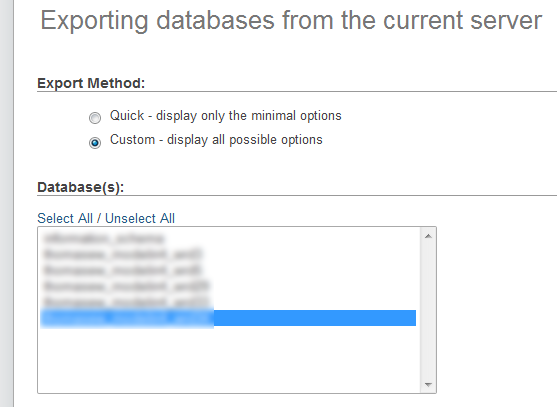
You only want to export the database that you made a note of above, so click on that one. Ignore the rest of the custom settings, and click on “Go” at the bottom of the page. The database will be downloaded to your PC.
4. Import Your Site’s Database to Your Local Server
Now we want to take that same database, and import it via your local server’s phpMyAdmin. To login, open a browser tab and type in “http://localhost/”. If you are using Xampp, a main menu will pop up, and you will see an option for phpMyAdmin in the sidebar:
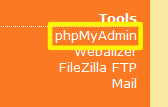
If you are using MAMP for Mac or a similar program, you should be presented with a similar screen.
Once logged into phpMyAdmin, select the “Import” tab. From this screen, select the database file that you exported from the live server, and click “Go”.
5. Set Up the Database for Local Usage
The database will now be imported into your local server’s phpMyAdmin. Once that process has completed, click on the “Databases” tab. Your site’s database should now appear in the list. Click on the “Check Privileges” link next to your database:
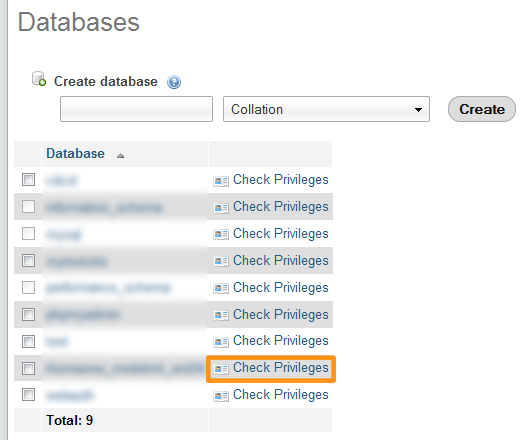
In the next screen, select the “Add user” option. You will be presented with a screen similar to this:
You can find the user name and password in the same “wp-config.php” file you accessed earlier on. You’re looking for the “DB_USER” and “DB_PASSWORD” variables. The host is simply “localhost”. You do not need to edit any of the other settings – just click “Add user”.
Finally, you need to edit two fields within the WordPress database itself. Navigate back to the “Databases” tab and click on your database name. When you open the “wp_options” table, you’ll see a list of table names like this:

The two fields you need to edit are “siteurl” (highlighted above) and “home” (which you may need to navigate to the second page to find). Just click the “Edit” buttons next to each field, and replace the URL contained in “option_value” with “http://localhost/yourfoldername/”.
That’s it! If you now navigate to “http://localhost/yourfoldername/”, your site should load up in all its glory. Please note that if you use custom permalinks, you will need to change them to default (in the WordPress > Settings > Permalinks screen) in order for internal links on your site to work. You can of course change the permalinks back to their custom form at any time.


Post a Comment
0 Comments